What Is the Best Way to Convert 8mm Tapes?
The best way to convert 8mm tapes is to play each cassette on a compatible Video8, Hi8 or Digital8 machine and capture the recording as a digital file. Professional transfer is usually the simplest option for irreplaceable family footage; doing it yourself can work well if you already have reliable playback equipment.
- Identify the recording format, not just the label on the cassette.
- Inspect the tape before playback and avoid forcing a damaged cassette.
- Capture in the best practical quality, then create an easy-to-watch MP4.
- Keep more than one copy of the finished videos in separate places.
First, Check Which Type of 8mm Recording You Have
Video8, Hi8 and Digital8 cassettes look similar, but need different playback systems. Shell branding helps identification, yet the recorded format may differ if someone reused the cassette.
| Format | Recording type | Suitable playback equipment | Important point |
| Video8 | Analogue video | Video8 or compatible Hi8/Digital8 player | Usually the earliest and softest-looking picture |
| Hi8 | Higher-quality analogue video | Hi8 or compatible Digital8 player | S-Video can retain more detail than composite output |
| Digital8 | Digital DV video | Digital8 player | A direct DV transfer over FireWire is preferable where supported |
A Digital8 camcorder does not automatically play older analogue recordings. Some models support Video8 and Hi8 playback; others only read Digital8. Check the precise model number before buying second-hand equipment.
What if you have 8mm cine film instead?
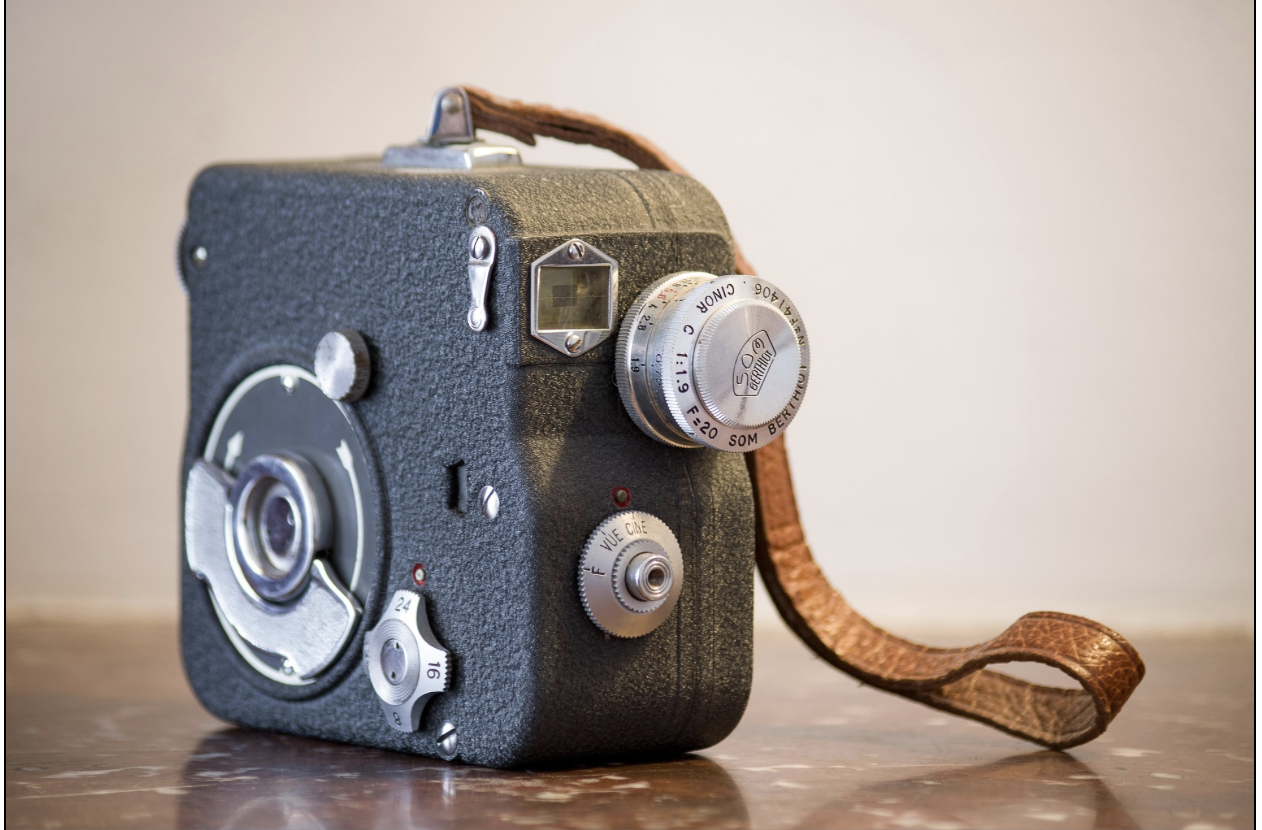
Cine film comes on an open reel with individual photographic frames. It needs scanning, not camcorder playback. Supaphoto’s specialist scanning of cine reels covers the process, while its guide to handling small-gauge home movies helps identify older reels.
Should You Transfer the Tapes Yourself or Use a Specialist?
Your decision depends on tape condition, quantity and available equipment. Neither method can restore detail that was never recorded, but careful playback helps preserve what remains.
| Consideration | Home conversion | Professional transfer |
| Equipment | Requires compatible player, cables and capture hardware | Specialist supplies compatible playback and capture equipment |
| Time | Every tape generally needs real-time playback and checking | Preparation, capture and checks are handled for you |
| Problem tapes | Limited options if playback fails | May offer alternative decks and specialist assessment |
| Control | You choose settings and organise files yourself | Agree on outputs, handling and any enhancements beforehand |
| Best suited to | Several healthy tapes and experienced DIY users | Important, fragile or mixed-format family collections |
Without working equipment, careful camcorder cassette transfers may be more practical than buying an ageing player. If you have the original camera, consider DIY.
How to Convert 8mm Tapes at Home
The process is straightforward in principle, but the connections depend on whether your tape contains analogue or digital video.
- Inspect the cassette. Check for mould, loose tape or uneven winding. Never repair it using household adhesive tape.
- Find a compatible player. Prefer a working original camcorder and mains adaptor. Check format and PAL/NTSC compatibility.
- Choose the correct connection. For Video8 and Hi8, connect composite video or S-Video plus the audio leads to an analogue USB capture device. S-Video carries picture only, so the separate audio connection still matters.
- For Digital8, check for i.LINK. FireWire/IEEE 1394 can transfer original DV data directly. Ordinary USB cables and simple plug adaptors cannot replace FireWire capture.
- Record a short test. Check colour, sound, aspect ratio and the start of the recording before capturing the entire tape. Set the software to the correct video standard.
- Capture and review. Transfer in real time. Check the beginning, middle, end and sound; test the file on another device.
- Name and back up the files. Use helpful names such as 1997-family-holiday-tape-01.mp4 and retain your original cassettes after transfer.
For another explanation of typical equipment and playback choices, see Supaphoto’s practical camcorder digitisation questions.
Why might a home capture look worse than the tape?
Poor capture hardware, dirty heads, unstable tracking or wrong settings can introduce faults, crop edges or distort the picture. If playback repeatedly breaks up, stop instead of risking further attempts.
A cassette may contain several recording sessions separated by long blank sections. Do not stop after the first empty-looking minute; review the full duration where safe. If the picture suddenly becomes noise or disappears, the recording format or playback speed may have changed.
Which Capture Settings Preserve the Best Picture?
Most UK domestic Video8 and Hi8 recordings were made in PAL standard definition, commonly captured at 720 × 576 pixels with 25 frames per second and 50 interlaced fields. Imported tapes may use NTSC instead. Preserve the correct timing and original 4:3 proportions unless the footage was genuinely recorded in widescreen.
For analogue tapes, prioritise stable signal, correct levels and clear audio. Time-base correction can help manage unstable timing. Heavy sharpening or noise reduction may erase genuine detail.
Consider keeping a higher-quality original capture as a preservation master, alongside a smaller MP4 for everyday viewing. The National Archives’ guidance on digitising video explains why an archive copy and a convenient viewing copy serve different purposes.
Does upscaling make an old tape high definition?
No. Upscaling increases the number of output pixels but cannot retrieve detail absent from the recording. Sensible deinterlacing, colour adjustment and light noise reduction can improve viewing on modern screens, provided the untreated transfer is also retained.
How Should You Handle Old or Damaged Cassettes?
Magnetic coatings and mechanisms may deteriorate without obvious warning. Watch for fuzzy deposits, musty smells, cracked shells or crinkled tape. Playing mouldy cassettes can contaminate your camcorder and other recordings.
Store unconverted cassettes upright in their cases, away from damp, radiators and strong magnetic fields. Avoid lofts and garages with large temperature changes. The Library of Congress recommendations for audiovisual storage provide practical handling advice for magnetic cassettes.
If a tape squeals, sticks or jams, stop playback. Specialist inspection is safer than repeated rewinding, improvised cleaning or dismantling the cassette. Even where some footage is damaged, other sections may remain recoverable.
What Should You Ask a Professional Conversion Company?
Before sending family recordings away, ask how the provider checks tape condition, identifies different 8mm formats and deals with tapes that will not play correctly. Useful questions include:
- Are Video8, Hi8 and Digital8 all supported, including older PAL recordings?
- Will you test alternative compatible players if the first playback is poor?
- Do prices include the full recorded running time, audio and your preferred files?
- Can I request MP4 files, a higher-quality master or both?
- How are originals labelled, tracked, packed and returned?
- Are repairs or restoration charged separately, and will you seek approval first?
Ask whether transfers are visually checked, not merely exported. For irreplaceable footage, careful handling and quality control matter more than extravagant enhancement promises.
Is USB, MP4 or DVD the Best Way to Keep Your Videos?
These terms describe different things. MP4 is a file container; USB is a storage device; DVD is a disc. For most households, MP4 files on a computer, external drive or USB stick offer flexible viewing.
A DVD can still suit relatives with a DVD player, but it should not be the only surviving copy. Maintain at least two additional copies of important files, including one in a different physical location or trusted cloud account. Check them periodically and move the collection to new storage when necessary.
The National Archives’ advice on keeping digital video usable also recommends sensible file naming, organisation and ongoing checks. Add dates, locations and names while family members can still identify the people on screen.
Frequently Asked Questions About 8mm Tape Conversion
Can I watch an 8mm cassette without the original camcorder?
Yes, with another compatible player. Video8 and Hi8 tapes do not fit VHS or MiniDV machines. Professional digitisation avoids buying untested equipment.
How long does transferring a cassette take?
At minimum, the recorded footage must usually be played in real time: a 90-minute recording takes approximately 90 minutes to capture. Inspection, setup, checking and any correction add extra time. The running time printed on the shell does not prove how much material was actually recorded.
Can a damaged 8mm tape still be saved?
Sometimes. A broken casing, poor playback or localised damage does not always mean every scene is lost. Recovery depends on the tape’s physical condition and the recording itself. Seek an assessment before attempting repeated playback on compromised media.
Will the original sound and picture be retained?
A properly configured transfer should capture the available sound and image together. Results remain limited by the original camera, lighting, microphone, tape wear and recording quality. Request a sample or discuss expectations if the content is especially important.
Preserve the Recording, Not Just the Cassette
The real goal is to make old family footage easy to watch, share and safeguard for years to come without repeatedly playing vulnerable originals. Identify the recording system, handle each tape cautiously, retain a good-quality master and back up the finished files. Ultimately, for irreplaceable memories, it makes sense to choose a professional company with years of experience handling such orders, such as Supaphoto Ltd.