Tips for Restoring Walls and Ceilings Affected by Humidity
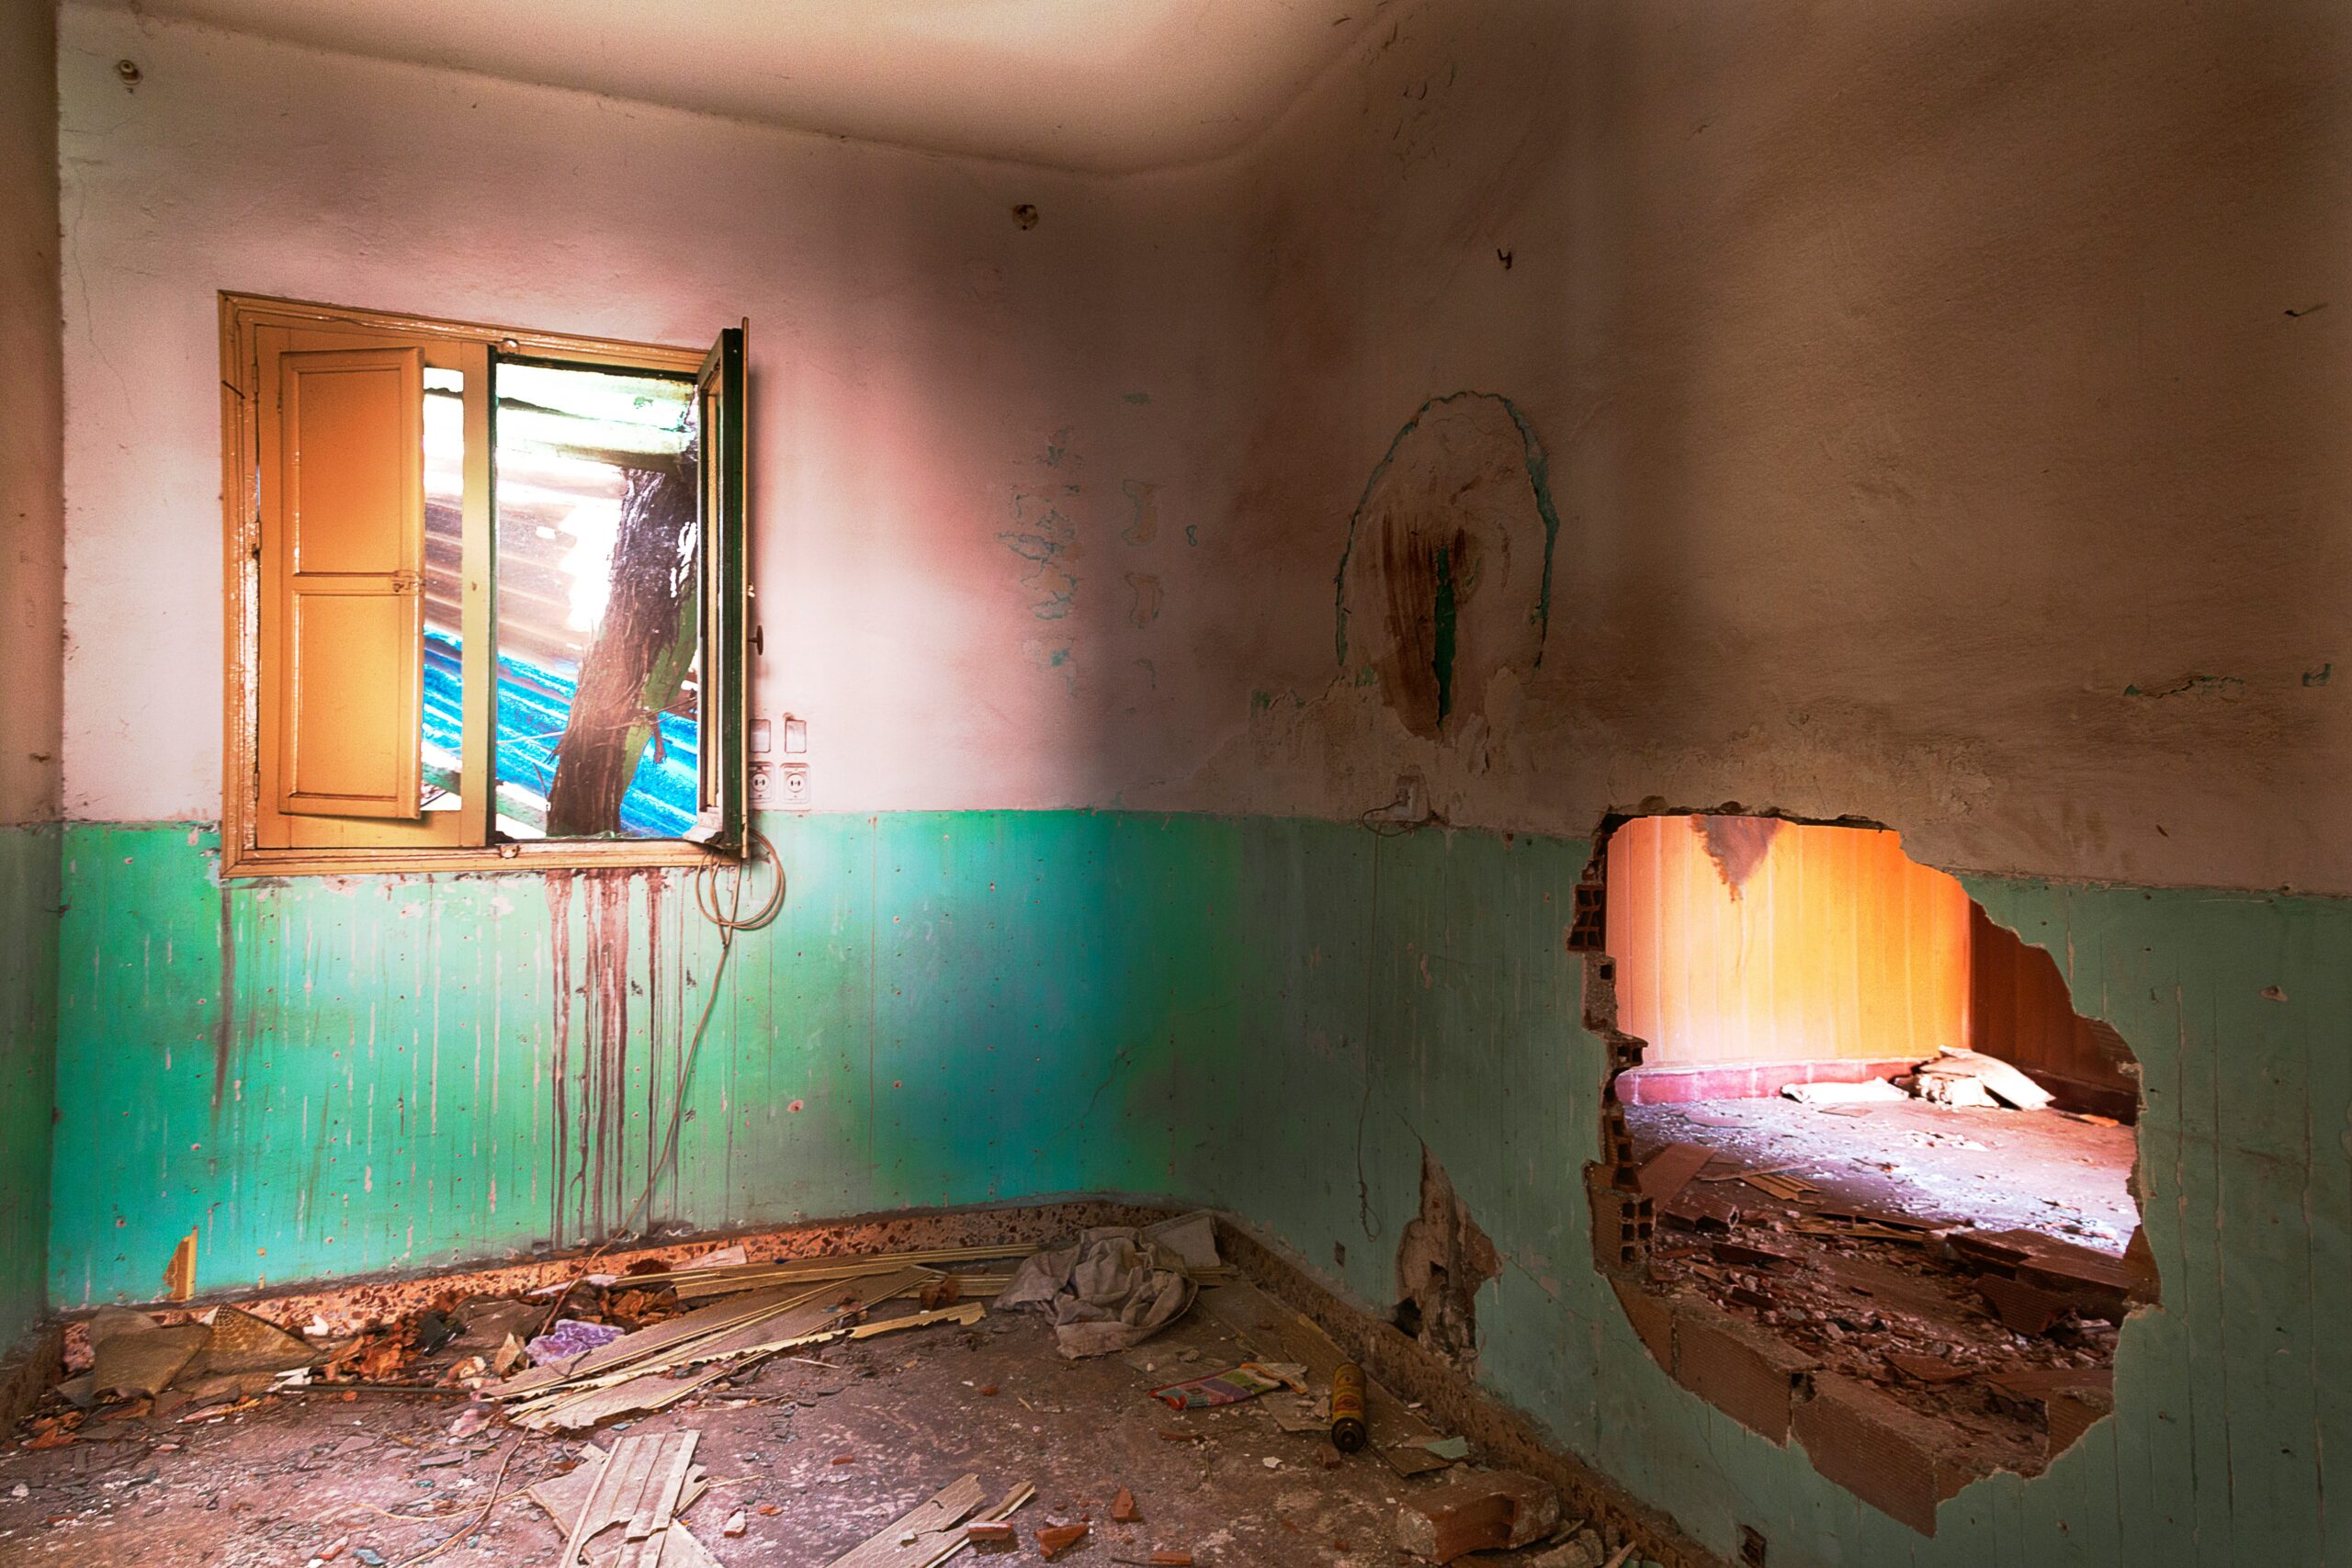 The humidity can significantly damage your home. Wet walls and ceilings look aesthetically displeasing and may be a significant cause of structural and health problems. Because of poor ventilation, when moisture is left exposed, it breeds mold and mildew, which jeopardizes your space’s integrity. The general approach for dealing with structure components with humidity combines prevention, repair and maintenance of the defects. Here in this guide, we’ll cover some basic guidelines for how you can help restore and protect your home as much as possible.
Understanding the Impact of Humidity on Walls and Ceilings
Humidity means the amount of moisture present in the air. Indoor humidity over 60% will generally rise through walls and ceiling. Over time, this leads to:
- Peeling paint or wallpaper: Moisture reduces the bonding capacity of adhesives and degrades finished materials.
- Structural damage: This means that excessive humidity weakens the drywalls and wood structures of any home.
- Mold growth: High humidity promotes mold and mildew, which are unhealthy for health and the indoor air.
It is a great mistake to focus on the externally observable symptoms and not pay attention to the actual problem.
Essential Tips To Restore Walls and Ceilings by Humidity
-
Identify the Source of Humidity
The remedial process starts with finding out the cause of humidity. If you do not fix the source of the problem, every time you patch something, it will not be permanent. Common culprits include:
Leaky roofs: Rainwater can penetrate ceilings through damaged tiles or where the flashing has worn or is missing altogether.
Plumbing issues: When pipes burst, or you have some problems with fixtures, it triggers the emergence of damp spots;
Poor ventilation: Areas such as bathrooms and kitchens will likely retain moisture whenever airflow is limited.
Steps to Identify Sources:
- Inspect for leaks: Find areas where people spilled water or accumulated water.
- Check ventilation systems: Check whether all exhaust fans are in good condition.
- Monitor humidity levels: Check indoor humidity using a kind of instrument known as a hygrometer.
2. Dry the Affected Area Thoroughly
It is recommended not to start repairs until the ceiling and walls have dried thoroughly. This is because working on damp surfaces compromises the structure and hinders the bonding of other materials on the work surface.
Drying Techniques:
- Use dehumidifiers: All these gadgets lower the humidity level and help in faster drying.
- Increase ventilation: Ventilate the room and make use of a fan.
- Apply heat: Temporary heaters can create heat that dries the remaining moisture on the various surfaces.
Drying may take a couple of days or even more, depending on the extent of the damage done. It is essential to be patient at this stage so that one does not face the same issues at a different time.
3. Remove Damaged Materials
When the area has dried up, one can estimate the damage level and then start easing out the affected materials. This change is essential to ‘wipe the slate clean’ for repair work to begin.
What to Remove:
- Peeling paint or wallpaper: This is done by stripping off all loose material to get to the base of the above surface layer.
- Softened drywall: Also, remove regional structures or no longer functional segments.
- Moldy areas: Employ proper equipment to wash off any visible mold.
If the problem is somehow severe, do not hesitate to hire mold removal Singapore services. Specialists ensure they remove it safely and effectively to avoid regrowth of mold.
4. Treat Mold and Mildew
The presence of mold and mildew characterizes high humidity. Some of them weaken walls and ceilings, while others are even hazardous to our health, causing allergies and problems with breathing.
Steps for Mold Treatment:
- Use anti-mold cleaners: Treat with remediation techniques used to eliminate mold.
- Scrub surfaces: You can use a brush to scrub the mold off hard surfaces.
- Disinfect the area: Clean and disinfect surfaces with a diluted bleach to remove spores.
It is essential to act quickly because, in advanced cases, mold produces spores that can release toxins. There may be a need for formaldehyde removal to enhance indoor air quality and ensure safe living.
5. Repair and Restore Walls
One should start repairing the damages when a surface is washed and dried. Thus, the restoration techniques differ depending on the level of wear and tear.
For Minor Damage:
- Patch cracks: Spackling paste is to be applied when small cracks or holes need to be filled.
- Sand the surface: Sandpaper the uneven areas till they have a smooth surface before repainting the surface.
- Apply primer: A mold-resistant primer is applied to ensure that such problems will not likely develop.
For Major Damage:
- Replace drywall: Screw and join new pieces of the drywall where needed.
- Re-plaster ceilings: Incorrect chunks of plaster that are worn or cracked, adding new ones.
6. Repaint or Redecorate
Once you finish the repairs, paint your walls and ceilings a new color or even wallpaper. This step not only helps restore the aesthetic value of objects but also puts a barrier to protection.
Painting Tips:
- Use waterproof paint: It is recommended to use moisture-resistant paints while painting a room in a humid area of your home.
- Apply multiple coats: This will also give a smooth, even application and make it easier to achieve longer-lasting results.
- Choose light colors: It bounces light and thus makes any room look more illuminated.
If, however, you like wallpaper, it is recommended to use vinyl or other types of material that are moisture-sensitive. These options prove to be less sensitive to dampness when compared to conventional paper-based layouts.
7. Improve Ventilation to Prevent Future Issues
The best way to prevent further problems from occurring to your newly restored walls and ceilings is prevention. Ventilation brings fresh air in and maintains low humidity to prevent the consignment from getting damaged.
Ventilation Tips:
- Ensure that bathrooms and kitchens have exhaust fans.
- Regularly open the windows so that fresh air gets into the room.
- Air purifiers should be used to help lower indoor humidity levels.
Similarly, if a whole-house ventilation system is to be installed it is possible to provide better airflow and eliminate excess dampness.
8. Regularly Monitor Indoor Humidity Levels
Indoor moisture monitoring is still essential, even for those homes that have been restored to normal. That way, if something goes wrong, you can look for the signs of it early.
How to Monitor Humidity:
- Application of hygrometers should be especially in high-risk areas.
- It is also advisable to ensure the indoor humidity is between 30 – 50 percent.
- Leakages or condensation on the walls should be sorted as soon as possible.
For example, the use of dehumidifiers creates a check on excess moisture in basements or any other room with the potential of exceedingly so.
9. Seal Walls and Ceilings
After finishing one’s walls or ceilings, one of the best practices is to apply a barrier that will guard against moisture in the future more effectively. Sealants put in place a waterproofing barrier to ensure that water cannot get through.
Sealant Application Tips:
- It is preferred to apply on a clean surface.
- It is recommended that one uses high-quality sealant that can be used internally.
- Retouch from time to time for better performance and longer usage duration.
Therefore, by sealing your walls, you effectively make your restoration work long-lasting and diminish the frequent repairs on your walls.
10. Conduct Regular Maintenance
These regular maintenance help to keep the house well maintained and ensure that humidity damage does not progress further.
Maintenance Checklist:
- Ensure that water is not dripping on windows and doors.
- Check walls, especially roofs and gutters, for degradation, cracks or mold formation.
- Make sure heaters and air conditioning units are functioning well.
- Air filters should be cleaned often so more air flows through your home.
Maintenance is cheap in the long run because it prevents paying expensive bills.
Conclusion
Repairing walls and ceilings that are damaged by humidity can be a little complicated but is actually achievable. Start correcting the current problem from the source, ensure the area is well–dried, and remove all the affected components. Treat the area with mold, fix any damage, and get the area painted or wallpapered with moisture-resistant material. Last, proper cross-venting and climates must be followed to avoid future problems.
With these pointers, your walls and ceilings will sparkle like they are new and will be well-guarded for many years. Don’t wait until it is too late; hide your home away from the wrath of humidity today!