How To Restore Old Family Photos
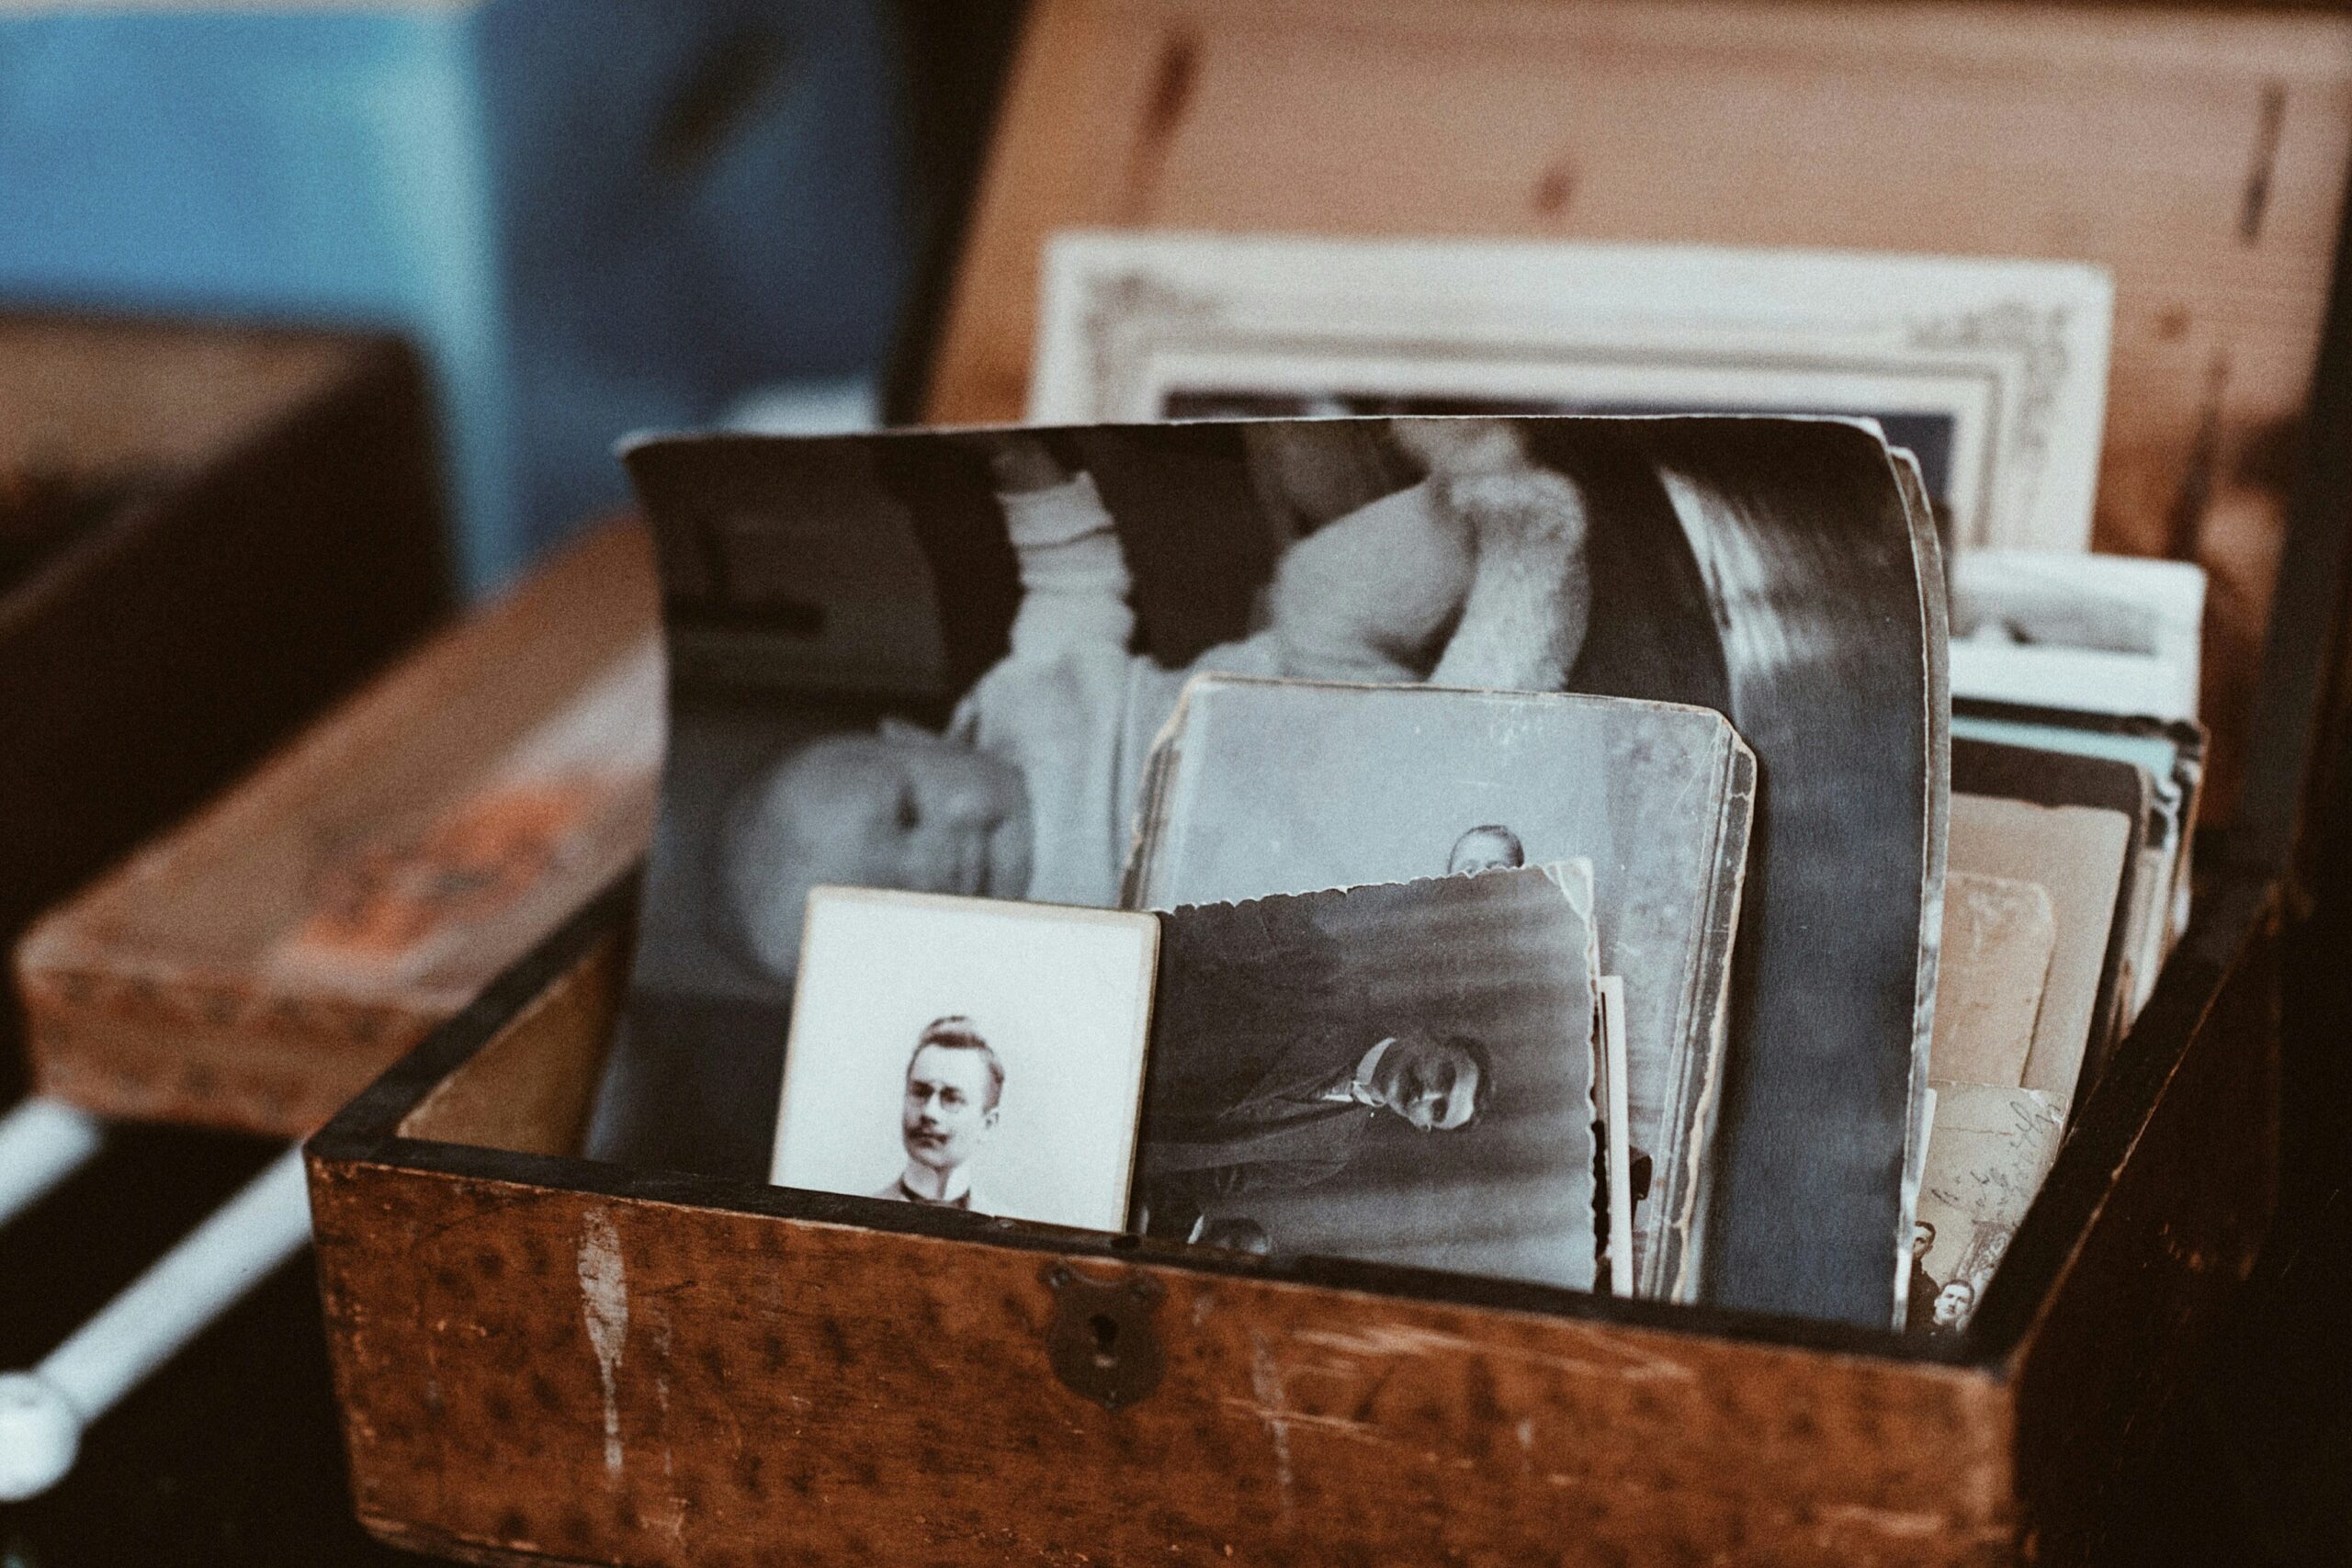 Most of us have several albums with family photos, some inherited from our parents and grandparents, others containing photos of our childhood and early youth. Apart from that, you might have a few photos hanging on the walls or standing on the chest of drawers in frames. Chances are that your old photos have been subjected to excessive humidity or dryness, temperature changes, exposure to sunlight, dirt, dust, and other damaging factors. What’s more, colours fade over time, paper withers, and in general, photos taken decades ago are not always of the best quality.
That’s why, if you value your old photos as precious mementos of your loved ones and the best moments in your life, it’s essential to restore them before it’s too late. In this blog post, we’re going to give you some ideas of what you can do yourself to correct the defects in your old photos and improve their quality. Let’s get started.
Scan Your Photos
First of all, let’s specify that we’re going to talk here about restoring your photos digitally using a computer and a photo editor. This method is accessible to everyone, non-destructive, because you’ll be working on a digital copy of your photo, and providing the best possible results. But before restoring, you need to digitise your printed photos. To do this, it’s best to use a scanner, although it is possible to rephotograph them with a camera or a smartphone.
Crop The Borders
Once you have scanned your photo, you will open it in an image editor. The first thing you’ll need to do is crop it. Firstly, your scanned photo will probably have white spaces near the edges that you’ll need to crop. Secondly, you can crop your photo to remove damaged corners and edges and to improve its composition, if needed, by emphasising the model and cutting out unnecessary objects.

Eliminate Mechanical Defects
This task is much more complicated, but essential for restoring old photos. Start with major defects such as scratches, tears or ink stains. To remove these, you’ll need to use retouching tools such as the Clone Stamp, which allows you to borrow pixels from an area of the image that you specify and use them to cover the damaged area.
Sometimes, there may be parts of the photo of an irregular form that are missing, faded or damaged. You can recreate them with a Patch tool, which works in the same way as described above.
It takes some practice to get a convincing result using the tools mentioned. Fortunately, some programmes provide the automatic restoration function.
To correct small defects such as specks of dust or small scratches, use a correction brush. This tool works automatically, so all you have to do is adjust the size of the brush and paint over the unwanted element.
Sharpen Your Old Photos
Old photos often look blurred because of the imperfections of the cameras of the time and the poor lighting when they were taken. To sharpen old pictures, simply move the Sharpness slider by adjusting other parameters. You can also increase the clarity of the image to make details more visible.
Adjust Brightness And Contrast
If your photo is overexposed or, on the contrary, too dark, play with the Exposure, Shadows, Highlights, Whites and Blacks sliders to make the image more harmonious. Alternatively, use the automatic correction function to adjust exposure and colours with a single click.
Revive Colours And Adjust Their Balance
If your old photo is in colour, it’s bound to need correcting, as colours tend to fade over time. What’s more, photos from past eras often have a lopsided colour balance, with a predominance of blue or green hues, or with unnatural tones. You can work on each colour separately with sliders, use tone curves or 3D LUT presets to correct colours with a single click.
Colourise Black And White Photos
If your old photo is in black and white, you have the choice of keeping this retro style or colouring it to give it back the colours it should have had but couldn’t because of the technical limitations of the time. After all, the sky was blue and the grass was green even 100 years ago, so why not find out the colour of your grandmother’s dress and that of your grandfather’s car, because you can.
It is possible to colourise a photo automatically using AI, or to do it manually using a brush and a palette of colours. This way, you can reinvent the colours and add an artistic touch to your restoration.
Add Some Style And Decoration
This step is optional, but if you decide that your restored photo will look even better with a vignette, an elegant frame or a vintage inscription, you can add some or all of these elements at once.
Save And Print Your Restored Photos
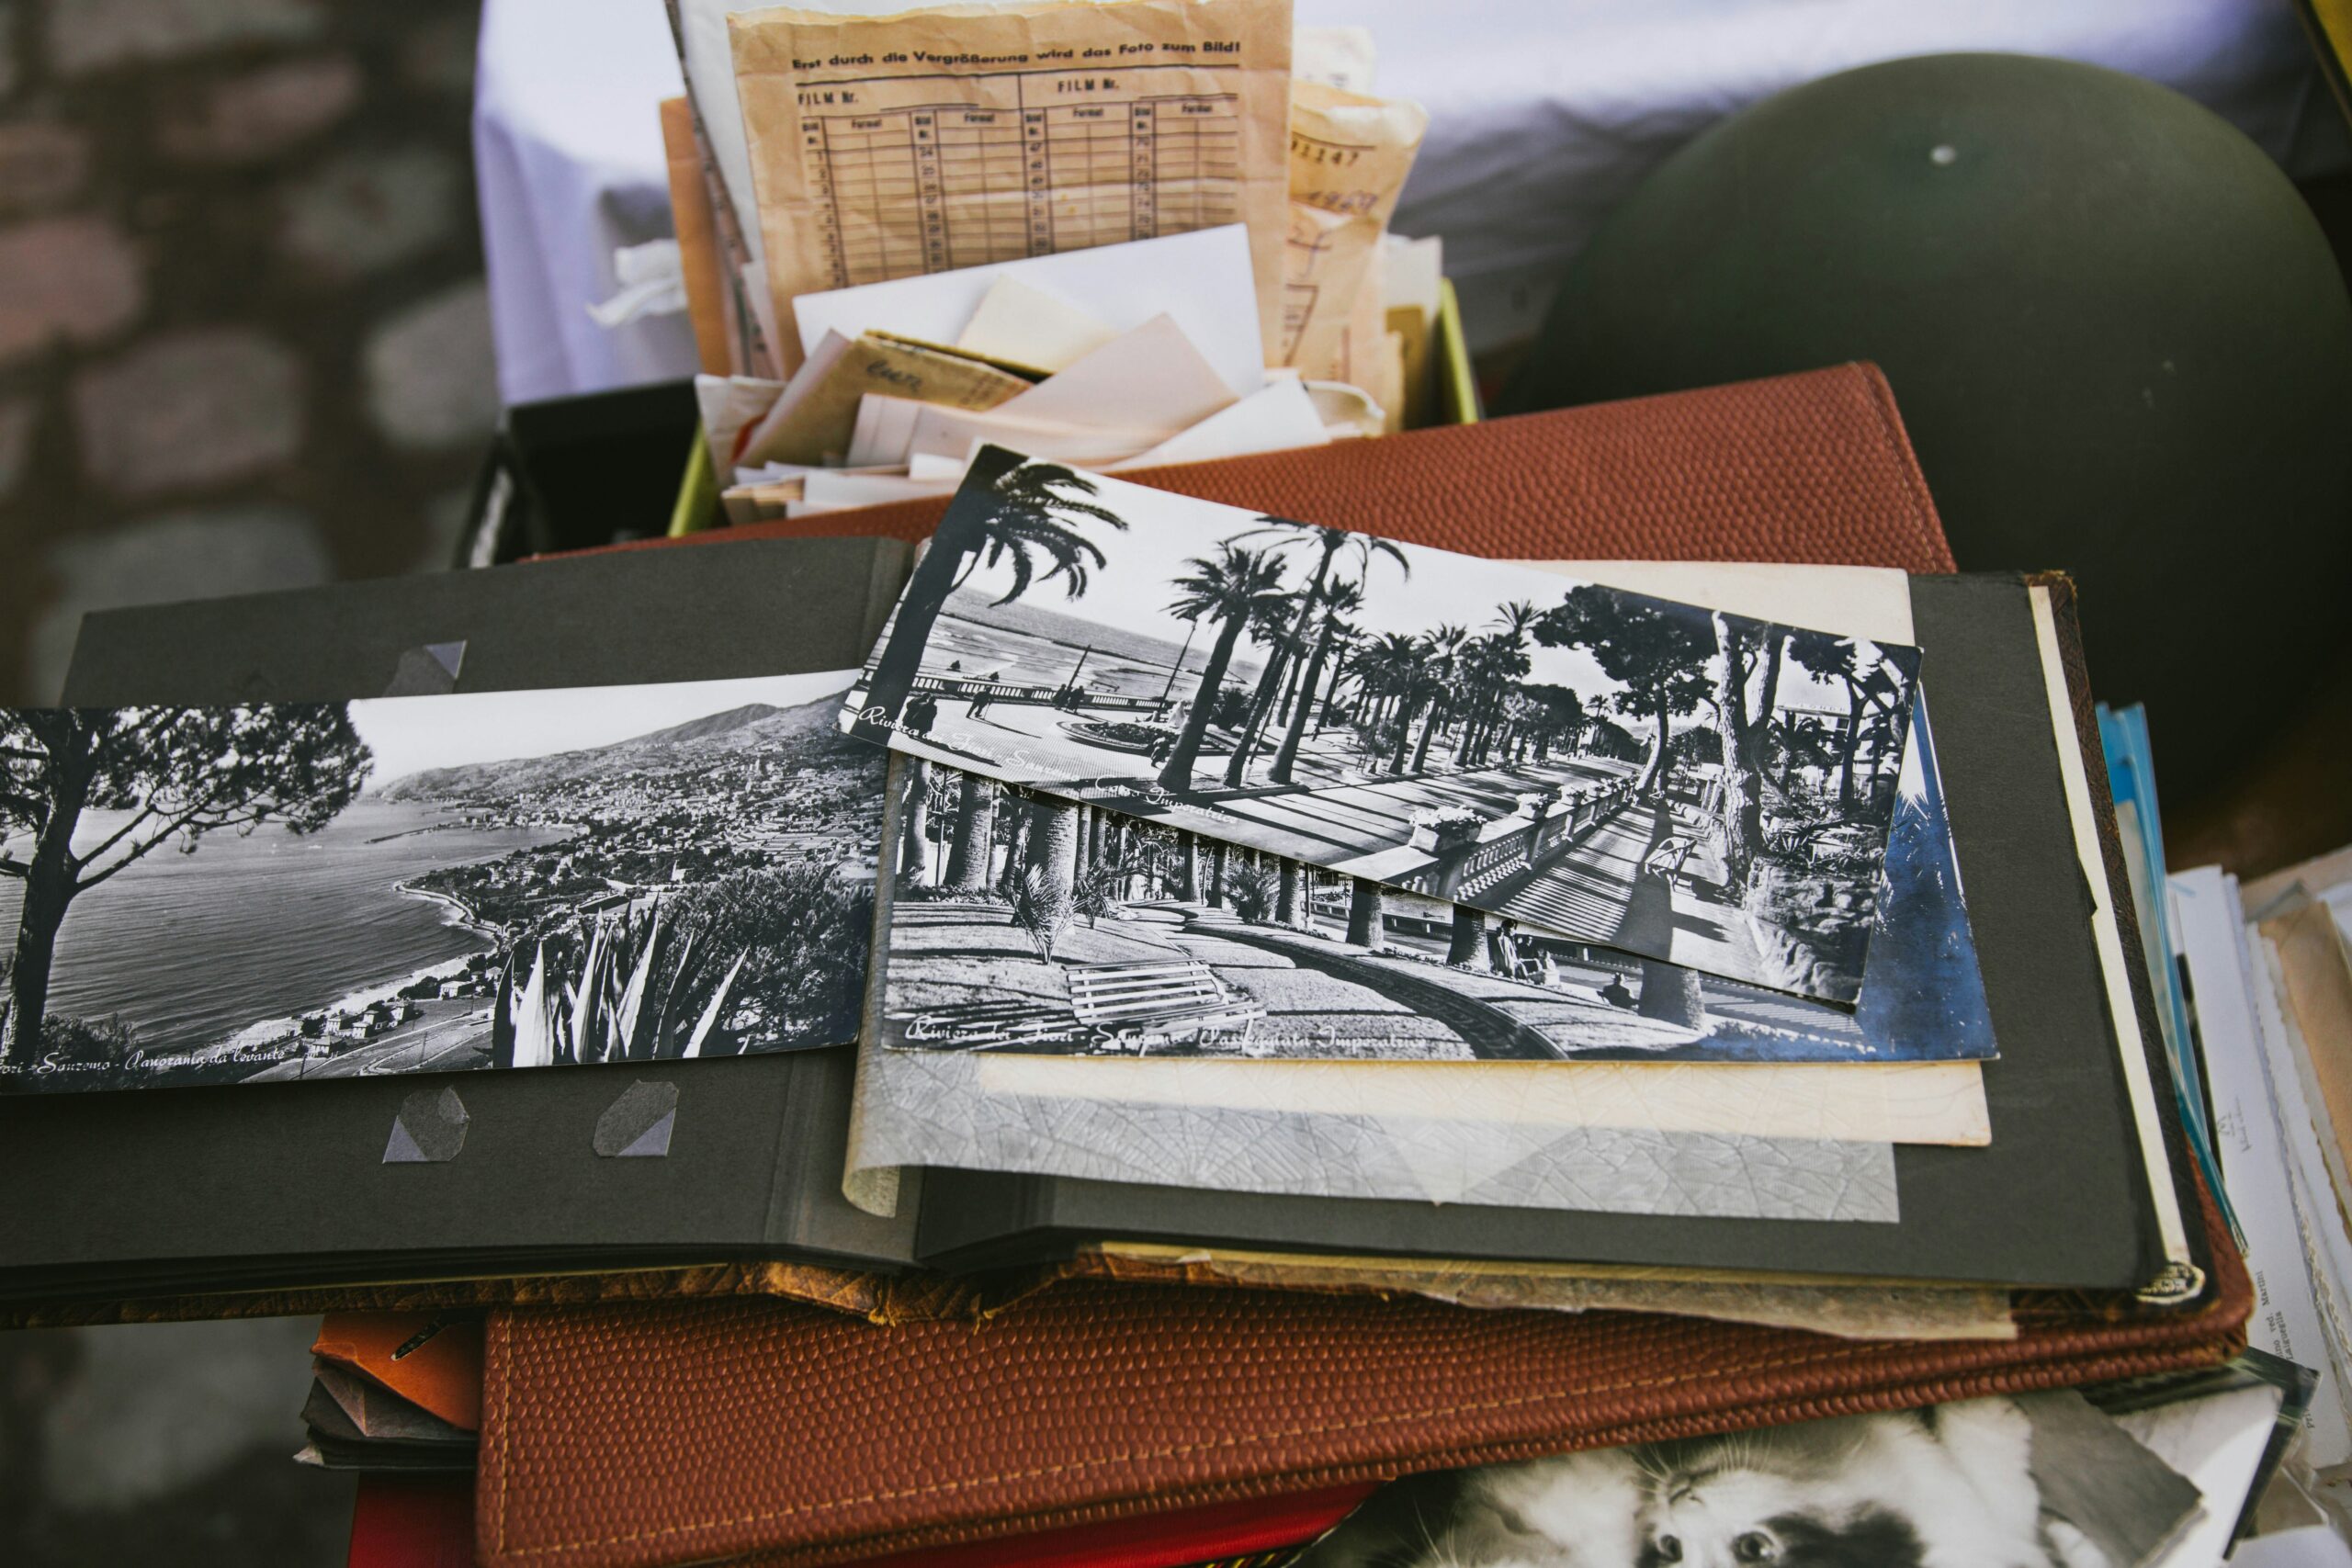
Now you know how to restore old photos with little effort. All that’s left to do is save them so you can share them with other members of your family on social networks or by e-mail, make collages or postcards, use them in your family tree and, of course, print them for your family albums and your home decoration.
Don’t hesitate to get your children involved in restoring old photos to introduce them to your family history and to the art of image editing, which is easy to master provided you use the right programme. Follow the link to discover photo restoration software that’s perfect for users of all skill levels and includes all the tools you need to perform the operations described in this article and more.